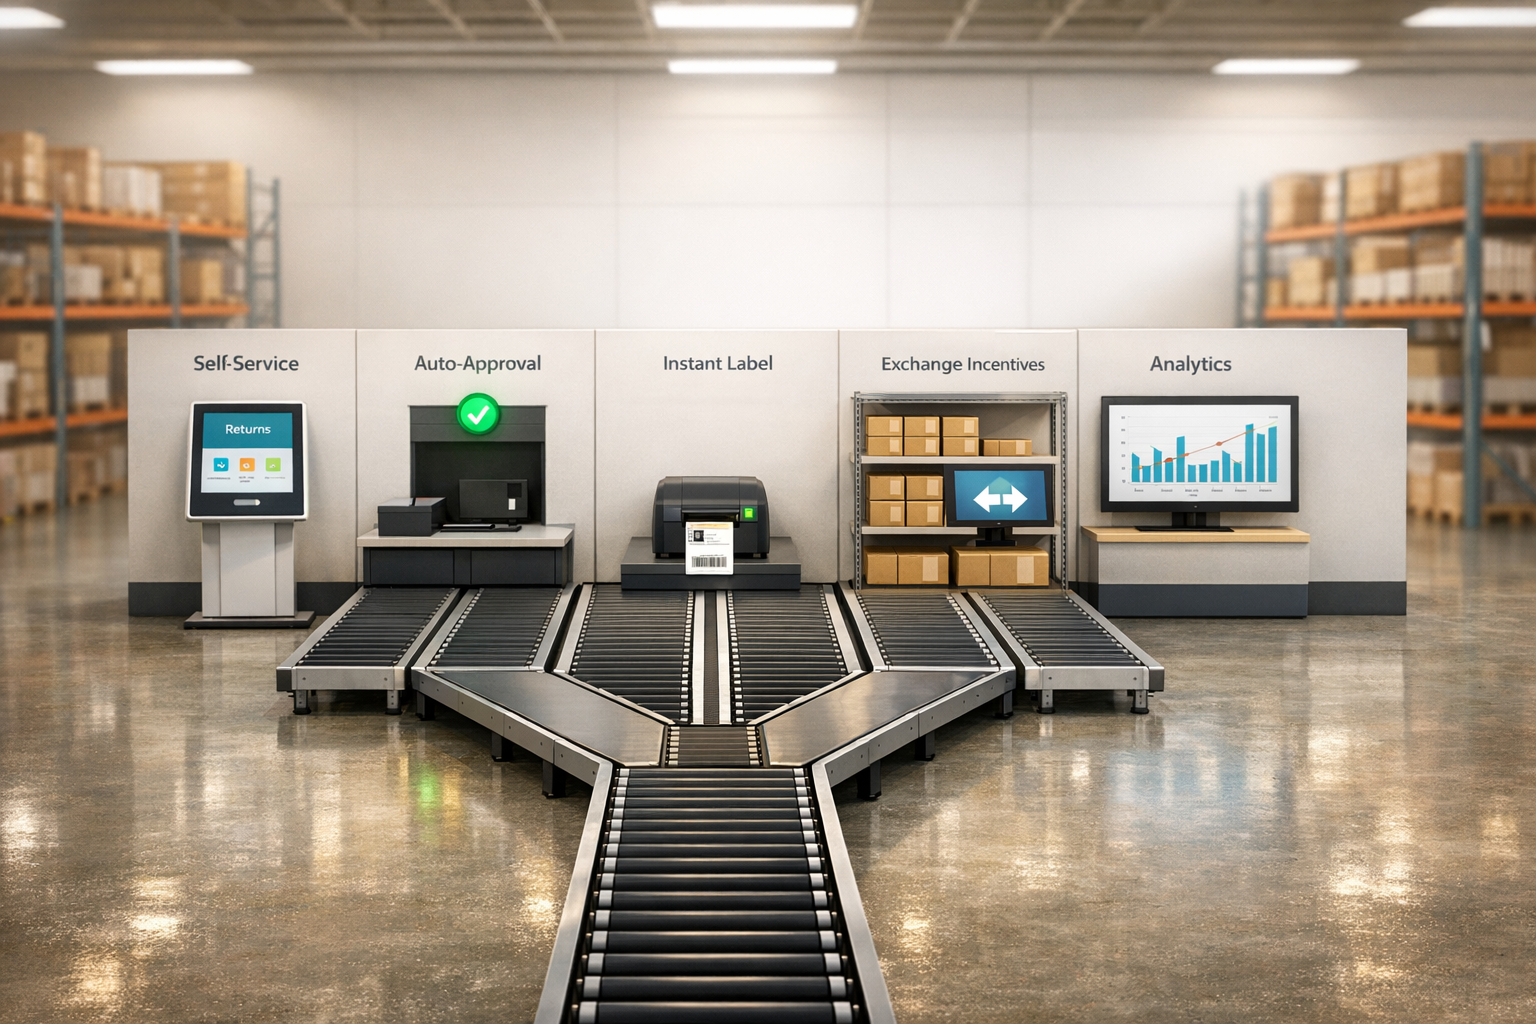
Handling returns manually eats up time and resources, especially for growing ecommerce businesses. Automating the process can simplify tasks, reduce errors, and improve customer satisfaction. Here's a quick guide to setting up automated returns for your Shopify store:
- Enable Self-Service Returns: Activate Shopify's self-service feature so customers can request returns directly from their accounts.
- Set Clear Return Policies: Define eligibility rules, return windows, and who covers shipping costs.
- Automate Workflows: Use rules to auto-approve or reject requests, generate return labels, and manage refunds or exchanges.
- Build a Customer Return Portal: Create a branded, user-friendly portal with real-time tracking updates.
- Track & Refine: Use return data to improve processes, products, and customer experience.
Automated returns save time, reduce errors, and provide a smoother experience for both you and your customers. Start with Shopify’s self-service returns and build from there.
Shopify tutorial: A complete walkthrough of the new Self-Serve Returns [New in Shopify]

Step 1: Turn On Self-Service Returns in Shopify
The first step to streamlining your returns process is enabling Shopify's self-service returns feature. This option lets customers submit return requests directly from their account pages, skipping the need to contact your support team. However, this feature requires Shopify's new customer accounts.
How to Enable Self-Service Returns
Activating self-service returns is simple if you know where to go. Start by logging into your Shopify admin dashboard and heading to Settings. From there, click on Customer accounts to find the relevant options.
In the Customer accounts section, look for the Self-serve returns setting. To activate it, check the "Allow customer self-serve returns" box (or click "Turn on") and save your changes.
"To let your customers submit product return requests directly in your online store and in the Shop app, you need to activate self-serve returns in your Shopify admin."
– Shopify Help Center
Before customers can use this feature, they need access to their accounts. Be sure to enable the "Show login link in the header of online store and at checkout" option in your account experience settings. Alternatively, you can add a link to the customer accounts page in key areas like your store's footer, refund policy page, or a dedicated returns page.
Test the Feature for Accuracy
Once you've enabled self-service returns, it's crucial to test the setup to ensure it's working perfectly for both you and your customers. Start by logging into your store as a customer. Go to the customer accounts page, locate a qualifying order, and submit a return request.
If the feature is set up correctly, you should be able to complete the return request process without any issues. After submitting the request, the test customer account should receive a "Return request confirmation" email, which confirms that the system is functioning as expected.
On the merchant side, check the Orders section in your Shopify admin for the submitted return request. If you've enabled staff order notifications, you should also receive an email about the new return request. All submitted requests will appear in your Shopify admin, ready for review and approval.
"Shopify has launched the new self-serve returns features! Customers can now request returns right from the Accounts page and configure return rules."
– SunrseIntegratn, Shopify Partner
With self-service returns activated and tested, you're ready to move on to setting up your return rules and policies.
Step 2: Set Up Return Rules and Policies
With self-service returns now active, it’s time to establish clear rules for eligibility and shipping costs. These policies are the backbone of your returns process, determining factors like the return window and who bears the shipping costs. By setting these rules, your system can handle eligible returns automatically, minimizing manual effort.
Set Return Time Limits and Item Requirements
Define your return window using Shopify’s preset options: 14, 30, 90 days, unlimited, or a custom period. The return window starts on the delivery date of the item. If the delivery date isn’t available, the system defaults to using the fulfillment date, adding a buffer to account for shipping delays. This ensures customers are given a fair timeframe for returns.
For items that are non-returnable - such as perishable goods, custom orders, personal care products, or heavily discounted items - mark them as final sale. When configuring final sale items, you can select either specific products or entire collections, but Shopify doesn’t allow mixing both within a single rule. Additionally, returns are only applicable to fulfilled or partially fulfilled orders.
Once your return window and final sale restrictions are in place, these automated rules will manage item eligibility when customers access their account pages.
Decide Who Covers Return Shipping Costs
Determining how to handle return shipping costs is key to balancing customer satisfaction with your profit margins. Shopify offers three options for configuring return shipping cost rules:
- Free return shipping: Your business covers the entire cost, making it easier for customers to return items.
- Flat rate return shipping: Customers pay a one-time fee per return, which is clearly displayed when they initiate the process.
- Customer-purchased return shipping: Customers are responsible for arranging and paying for their own shipping labels.
You can set these preferences by navigating to Settings > Policies > Return rules in your Shopify admin. The system automatically applies your selected shipping rules to all orders, and customers will see any applicable return shipping fees when submitting their requests. If necessary, you can adjust the fee for individual returns.
For businesses offering free or flat-rate return shipping, Shopify integrates with tools like Shippo, EasyPost, and Pirate Ship to generate prepaid return labels. These labels can either be included in the original shipment or sent after a return request is submitted, simplifying the process for both you and your customers.
Make sure to clearly display your return policy and shipping cost details on your website. Transparent communication helps reduce customer support inquiries and can prevent unnecessary return requests.
Step 3: Create Automated Return Workflows
With your return policies set, the next step is to establish workflows that manage returns seamlessly, without requiring manual effort. These automated workflows are the backbone of your return system, handling tasks like approvals, labeling, and restocking based on the rules you've defined. By automating these processes, you ensure faster, more reliable service for your customers. Let’s break it down.
Auto-Approve or Reject Return Requests
Configure your system to automatically approve returns that meet your criteria. For example, items within the return window, non-final sale products, or requests from customers with a history of smooth returns can be approved instantly. This eliminates delays and keeps the process moving.
For returns that don’t meet your requirements, set up workflows for automatic rejection. Common reasons for rejection might include items outside the return window, final sale products, or signs of misuse detailed by the customer. When rejecting a return, the system should send a clear, polite explanation to the customer, citing the specific policy that applies.
You can also create conditional workflows for more nuanced situations. For instance, you might approve returns under $50.00 automatically but require manual review for higher-value items. Similarly, loyal customers with multiple purchases might get quicker approvals, while first-time buyers could be flagged for additional review.
Platforms like ForthRoute take this a step further with AI-driven decision-making. Their system learns from your past manual decisions, gradually automating even complex cases while maintaining accuracy.
Auto-Generate Return Labels and Emails
Once a return is approved, your system should automatically generate and email prepaid return labels. These labels should include clear packaging instructions and drop-off details. Integration with shipping platforms like EasyPost allows you to create labels with your preferred carrier, complete with tracking information for easy printing.
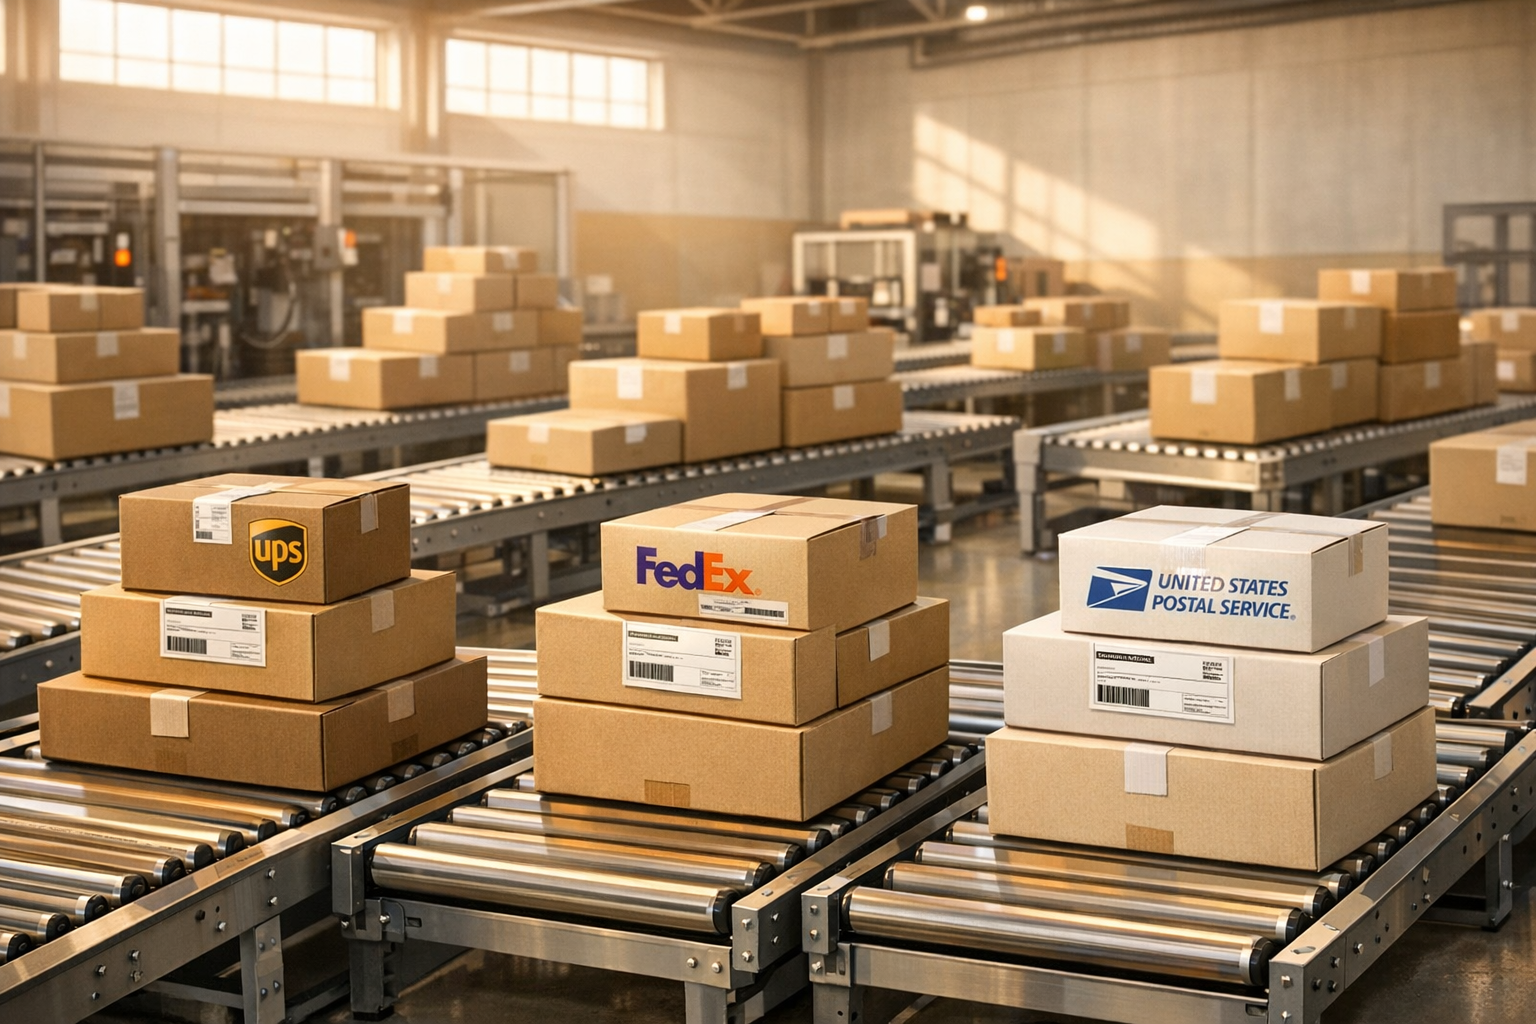
Offering customers multiple shipping options, such as USPS drop-off or UPS pickup, can speed up return processing and improve convenience.
Automated emails should keep customers informed at every stage: approval, label delivery, pickup, receipt of the return, and refund completion. Each message should include tracking details and estimated timelines for the next steps.
International returns can also be managed without extra manual work. By automating communications and label generation, you streamline the process for both domestic and global customers.
Set Up Workflows for Exchanges and Restocking
Your automation doesn’t stop at returns - extend it to exchanges, restocking, and refunds. Exchange workflows can handle requests for different sizes, colors, or similar items. When a customer initiates an exchange, the system should check inventory, reserve the requested item, and process the refund and new order simultaneously.
For restocking, the system should evaluate returned items based on condition, product type, and your quality standards. Items that meet your criteria can be added back to inventory right away, while others are flagged for inspection or marked for liquidation.
Refund automation ensures that payments are processed quickly and accurately by connecting directly with your payment processor. Meanwhile, inventory alerts keep your team updated on stock changes, helping them make smarter restocking decisions.
ForthRoute’s analytics tools let you track the performance of these workflows, offering insights into processing times, error rates, and customer satisfaction. Use this data to fine-tune your automation rules and uncover areas for improvement.
sbb-itb-a3e286c
Step 4: Build Your Customer Return Portal
Your return portal serves as the central hub for managing returns while reinforcing your brand identity. A self-service portal empowers customers to handle returns on their own, improving both efficiency and their overall experience. With automated workflows, a dedicated portal makes the entire process even smoother.
Think of it as the face of your returns process - it should look and feel as professional and polished as your main website.
Add Your Brand to the Portal
Your return portal should seamlessly reflect your store's branding, not feel like a disconnected or generic page. Start by incorporating your logo, colors, and fonts to create a consistent visual identity.
Make sure the messaging and tone align with your brand’s personality. Whether your style is friendly and casual or more formal and refined, your return instructions and confirmation messages should reflect that same voice.
ForthRoute’s branded return portal allows you to create a cohesive customer experience that feels familiar and trustworthy. You can customize everything - from button colors to email templates - ensuring every interaction aligns with your brand. Adding personal touches like customer names, order details, or product images can make the process feel more thoughtful and engaging.
Turn On Real-Time Package Tracking
Real-time package tracking is a must-have feature. Set up automated notifications for key milestones: pickup, transit, delivery, and refund. This keeps customers informed about their return’s progress while giving you valuable data for managing inventory and restocking.
By integrating your portal with major shipping carriers, you can provide continuous updates, reducing customer uncertainty and building trust throughout the return journey.
Make Return Requests Easy for Customers
The return process should be straightforward and require minimal effort from your customers. Design your portal so users can quickly find their order, select the items they want to return, and provide their reasons - all in just a few clicks.
Include clear visuals of purchased items, such as product images, descriptions, and order details. Dropdown menus with common return reasons like "wrong size", "damaged item", or "not as described" can simplify data collection and minimize errors.
Smart form design can make the process even smoother. For example, if a customer selects "damaged item", an optional field for uploading photos can appear, while other customers can proceed without unnecessary steps. Keep the process simple for standard exchanges.
Provide instant feedback on return eligibility. Let customers know right away if an item is outside the return window or marked as final sale, so expectations are managed upfront. For added convenience, consider offering a bulk return option for customers with multiple items from the same order.
A well-designed portal not only enhances the user experience but also sets the foundation for refining your return process over time.
Step 5: Track and Improve Your Return Process
Automating returns is just the beginning. To truly optimize your return process, you need to dig into the data and listen to customer feedback. This approach not only boosts efficiency but also helps lower return rates and improves customer satisfaction.
Monitor Return Data and Customer Feedback
Your return process generates a wealth of data - metrics like return rates, reasons for returns, processing times, and customer satisfaction scores. Combine these numbers with customer comments to uncover recurring issues and take corrective action. For instance, Shopify’s reporting tools let you track total returns, refunds, and restocking activity, giving you a clear picture of your return trends.
Pay special attention to why customers are returning items. If you see repeated complaints like "wrong size" or "not as described", it’s a signal to refine your product listings, improve sizing guides, or enhance product photography. This kind of feedback is invaluable for making adjustments that prevent future returns.
Customer comments about the return experience itself are equally important. Were they frustrated by a confusing portal? Did shipping take too long? Was the refund delayed? Addressing these pain points can make your automated workflows smoother and more user-friendly.
For a deeper dive, tools like ForthRoute’s analytics dashboard can provide a detailed breakdown of return patterns. You’ll be able to pinpoint which products are returned most often and identify where customers might be encountering issues. Use these insights to make immediate improvements to your return process.
Update Rules and Workflows Based on Data
Your return metrics and KPIs aren’t just numbers - they’re a roadmap for improvement. Regularly analyze your data to identify trends. Are certain products being returned more frequently? Are your policies too restrictive? Use these insights to tweak your return policies or adjust workflows as needed.
Key performance indicators like order accuracy, fulfillment costs, and customer satisfaction scores can also help measure how well your automation is working. These metrics can guide updates to your workflows, software settings, and even inventory management strategies. Don’t forget to align these internal changes with your external logistics for a seamless operation.
Connect with Fulfillment Partners
Teaming up with third-party logistics (3PL) providers can take your return process to the next level. They can handle inspections, restocking, or even disposal of returned items, all while keeping inventory levels accurate.
Look for 3PLs that offer specialized return services like quality checks or refurbishment. This integration allows your automated workflows to handle items differently based on their condition - restocking items that are in perfect shape while routing damaged goods for repair or disposal.
ForthRoute’s 3PL integrations make it easy to connect your return workflows with major fulfillment partners. This ensures returned items are processed quickly and efficiently, keeping your stock levels accurate and minimizing delays.
Conclusion: Save Time with Automated Returns
This final step ties together everything we've covered. Setting up automated returns takes what used to be a tedious, manual process and turns it into a streamlined system that works for you. By following the five steps - enabling Shopify's self-service returns, crafting smart return policies, building automated workflows, customizing your customer portal, and keeping an eye on performance - you'll save hours of work while keeping your customers satisfied.
Automated returns eliminate manual errors, like incorrect refunds, and spare customers the hassle of contacting support, ensuring only eligible items get processed. Plus, automation handles return fees, exchanges, and refunds with precision, while real-time tracking drastically reduces the flood of "Where's my return?" emails.
Even better, the data you gather from returns can help refine everything from product descriptions and sizing charts to supplier choices.
Start with Step 1: enabling Shopify's self-service returns. You'll see immediate time savings, and as you implement each step, your processes will become smoother, and your customers happier. With ForthRoute's automation tools in place, you can focus on growing your business, perfecting your products, or spending more time doing what you love.
FAQs
What can I do to make my return policies clear and customer-friendly?
To make your return policies straightforward and user-friendly, begin by enabling self-serve returns in your Shopify admin. This feature lets customers handle return requests on their own, cutting down on manual work for your team.
Make sure your online store includes clear, step-by-step instructions on how customers can initiate a return. This ensures they know exactly what to do and what to expect.
You should also establish specific return rules that balance your business needs with fairness to your customers. Once these rules are in place, draft a written return and refund policy that's easy to understand. Be sure to display it prominently on your website - this transparency helps build trust and improves the overall shopping experience.
What are the best practices for testing and troubleshooting Shopify's self-service return feature?
To make sure your self-service return feature runs smoothly, begin by walking through the entire return process just like a customer would. This means initiating a return, checking for confirmation emails, and ensuring the return status updates correctly in your system.
Be sure to test edge cases too, like invalid return requests or returns outside the allowed window, to confirm the system handles these situations properly. Keep an eye on customer feedback and analyze return data regularly to spot and address recurring issues. If you encounter any problems, double-check your automation workflows and Shopify app settings to ensure everything is set up correctly.
How can I use return data to enhance my products and improve customer satisfaction?
By reviewing return data, you can gain meaningful insights into your products and better understand your customers’ needs. Pay attention to recurring reasons for returns, such as sizing problems, product defects, or items not meeting expectations. These patterns can help you fine-tune product descriptions, adjust sizing charts, or resolve quality issues.
Beyond that, monitoring customer behavior trends can inform decisions on inventory management, packaging, and even the creation of new products. Making changes based on this data doesn’t just cut down on returns - it also strengthens customer trust and boosts satisfaction.